 I’m always on the lookout for ways to get more greens into my diet. I’m also not a fan of waste. That makes this DIY super greens powder a win-win! It’s packed full of nutrition and uses parts of the plant that would normally be tossed or composted.
 So, I decided to turn to my dehydrator. Dehydrating is one of the oldest methods of food preservation. I would venture to say that it was probably more of a discovery than a true invention. I imagine one of our ancestors happening upon a piece of dried out fruit laying in the sun and realizing it’s still edible! That would certainly get the wheels turning about all the foods that could be preserved in that way!
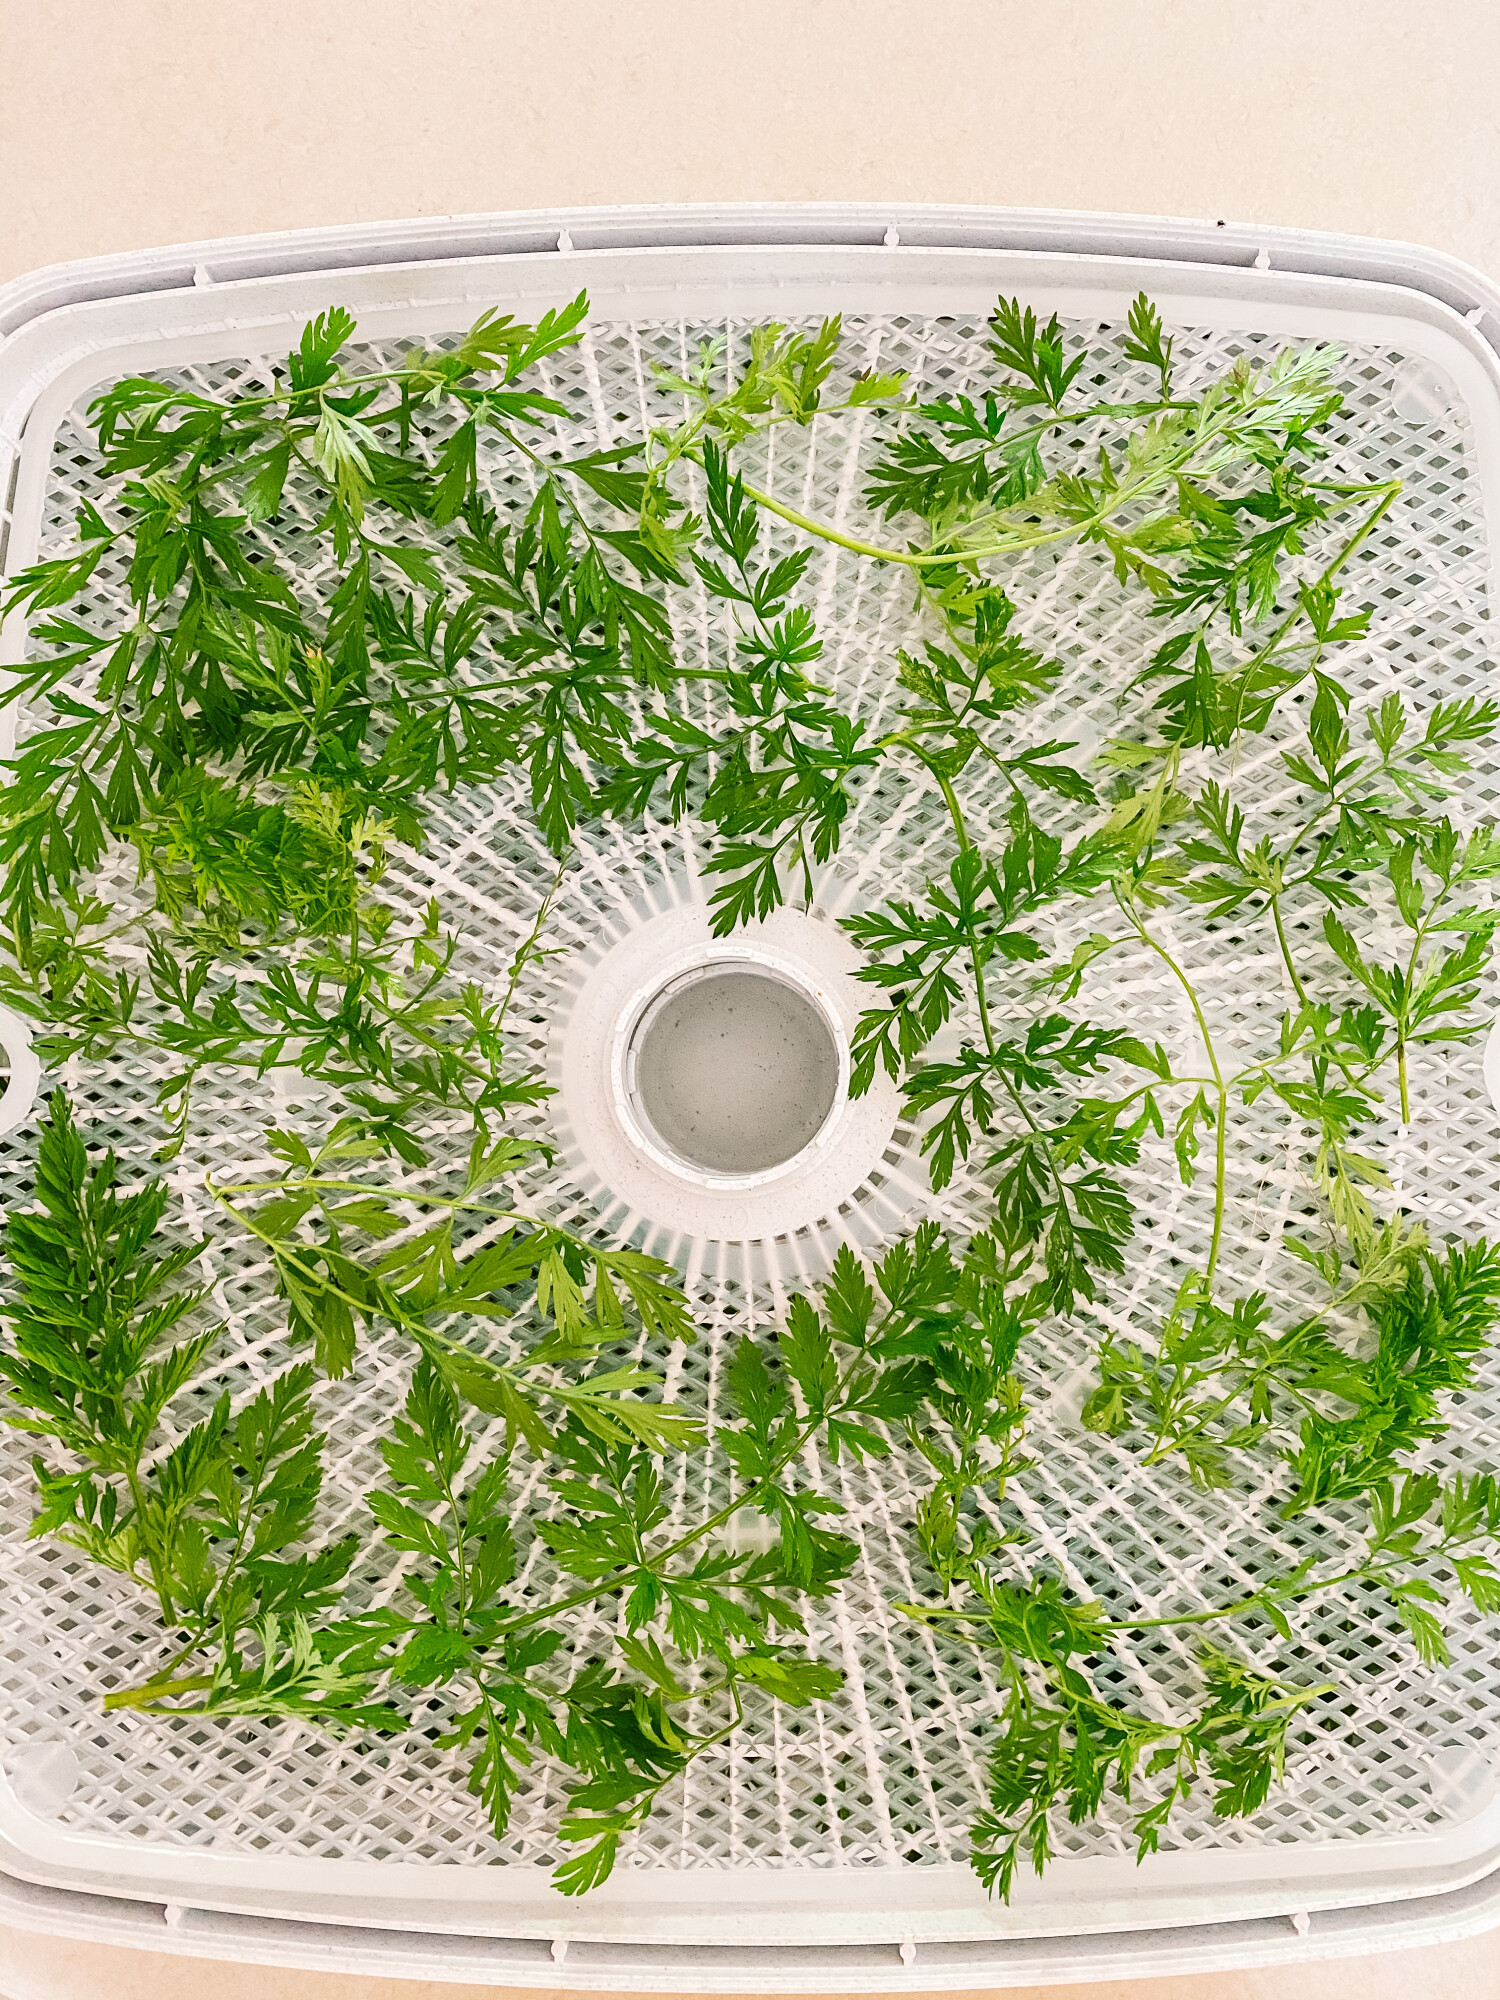
There are so many dehydrators on the market, but don’t feel like you need anything fancy. We just have this very basic one that gets the job done. I will say though, having owned both a circle shaped dehydrator and a square shaped one, I much prefer the square. I feel like you can get everything to fit in it so much better!
- Choose Your Greens
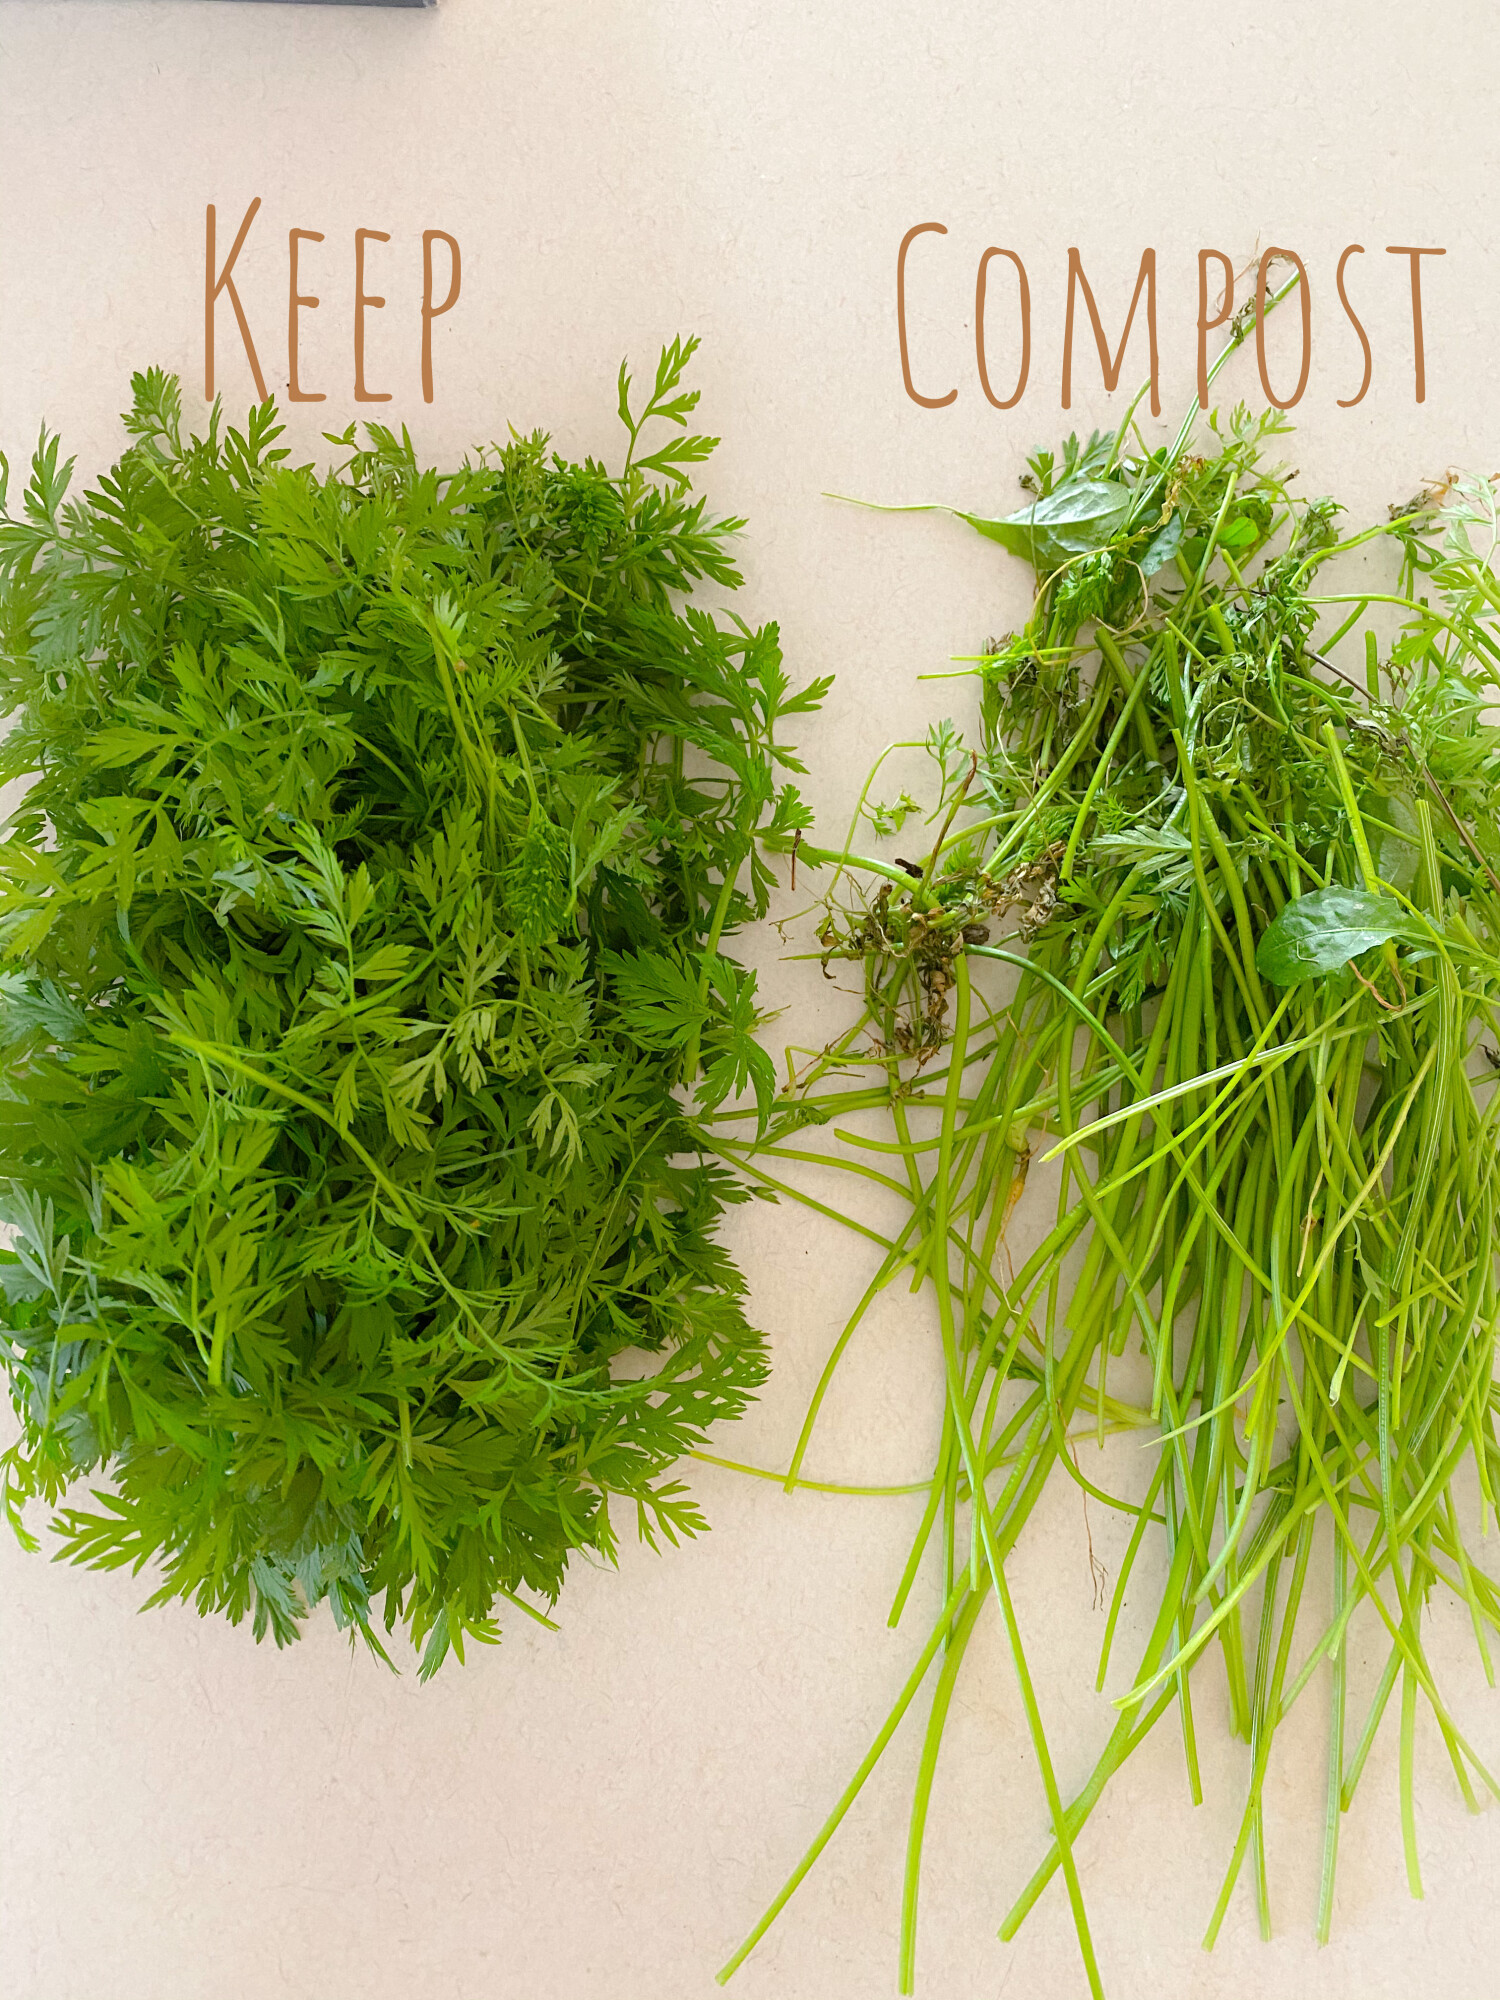
I started with carrot tops, broccoli leaves and celery leaves, all of which would normally get tossed. Some other great options are beet greens, spinach, collard greens, kale or dandelion greens. And if you don’t have a garden, you can purchase these at a local farmer’s market or grocery store.
- Preparation
After washing your greens, remove stems or ribs, saving just the leafy parts. Arrange them in your dehydrator leaving space for the air to move freely. My dehydrator has an herbs and spices setting that I used. If yours only goes by temperature, choose a low setting (95*F/35*C). How long it takes will depend on what you're dehydrating and the humidity in your home, but you can expect this part to last several hours. I usually let mine run all night while we’re sleeping and sometimes it has to go even longer.
- Processing
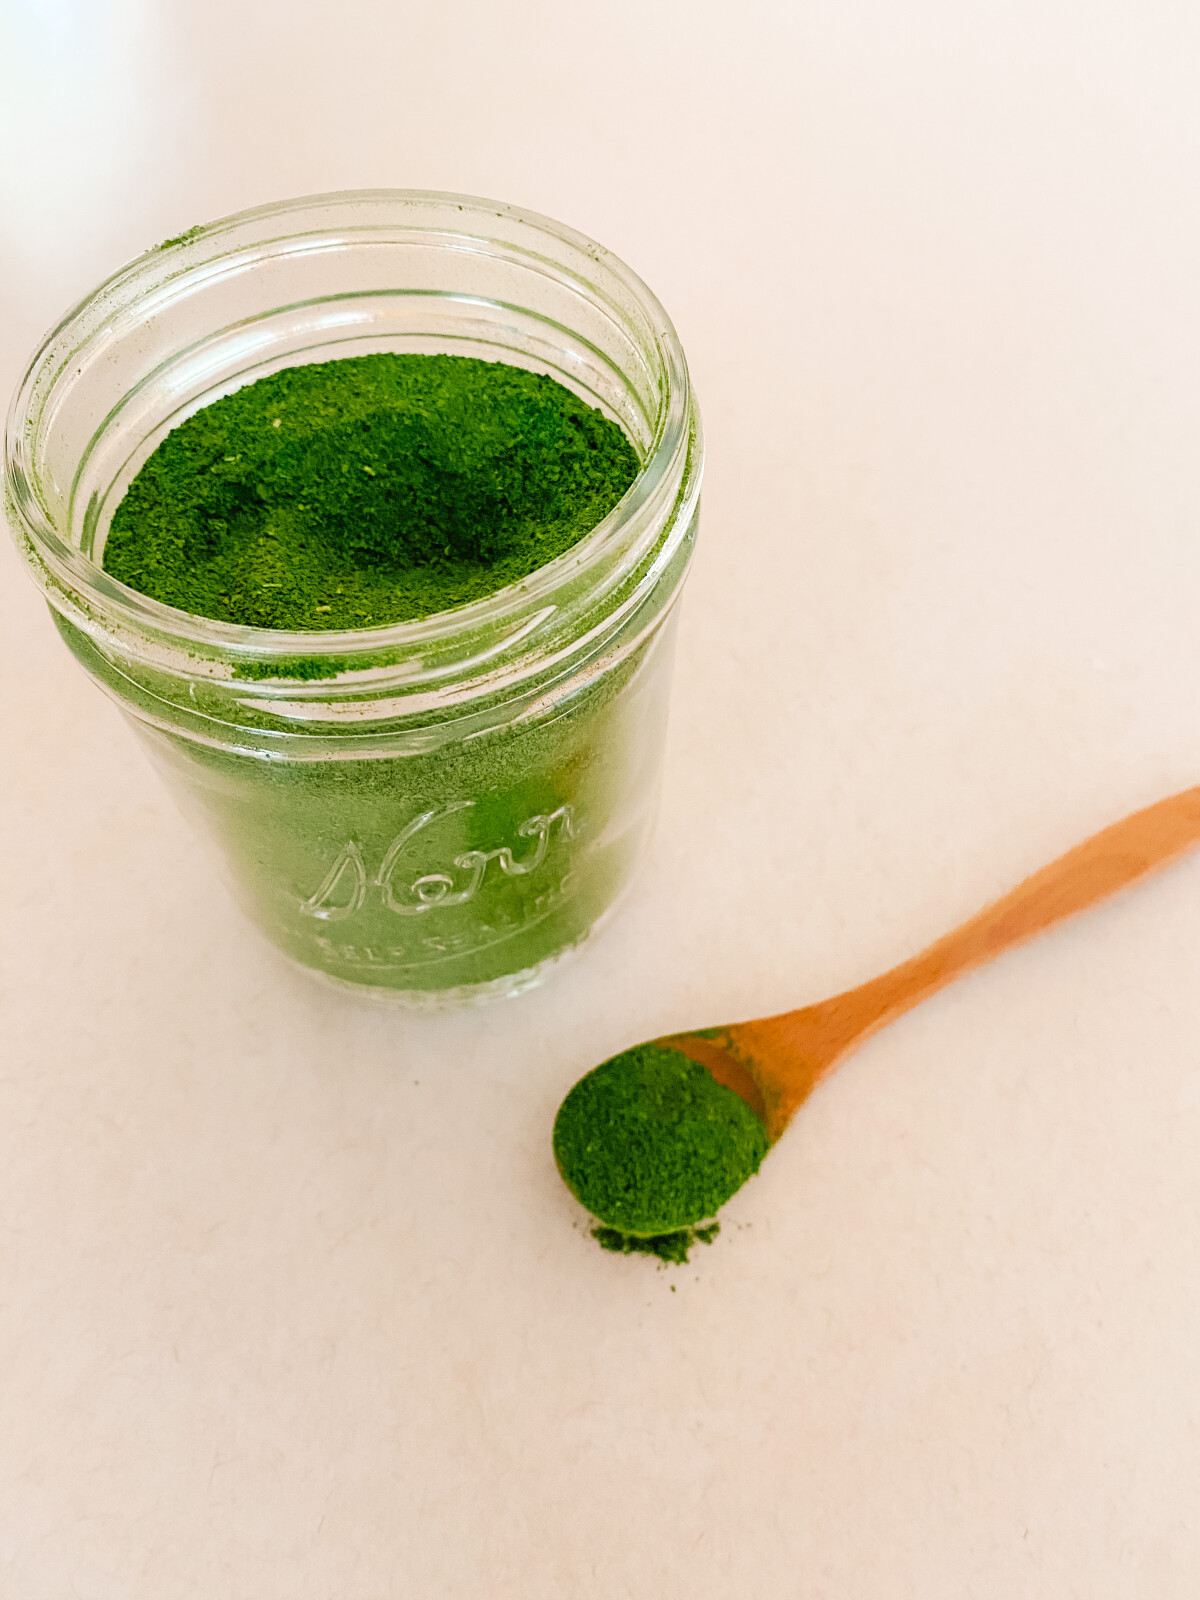
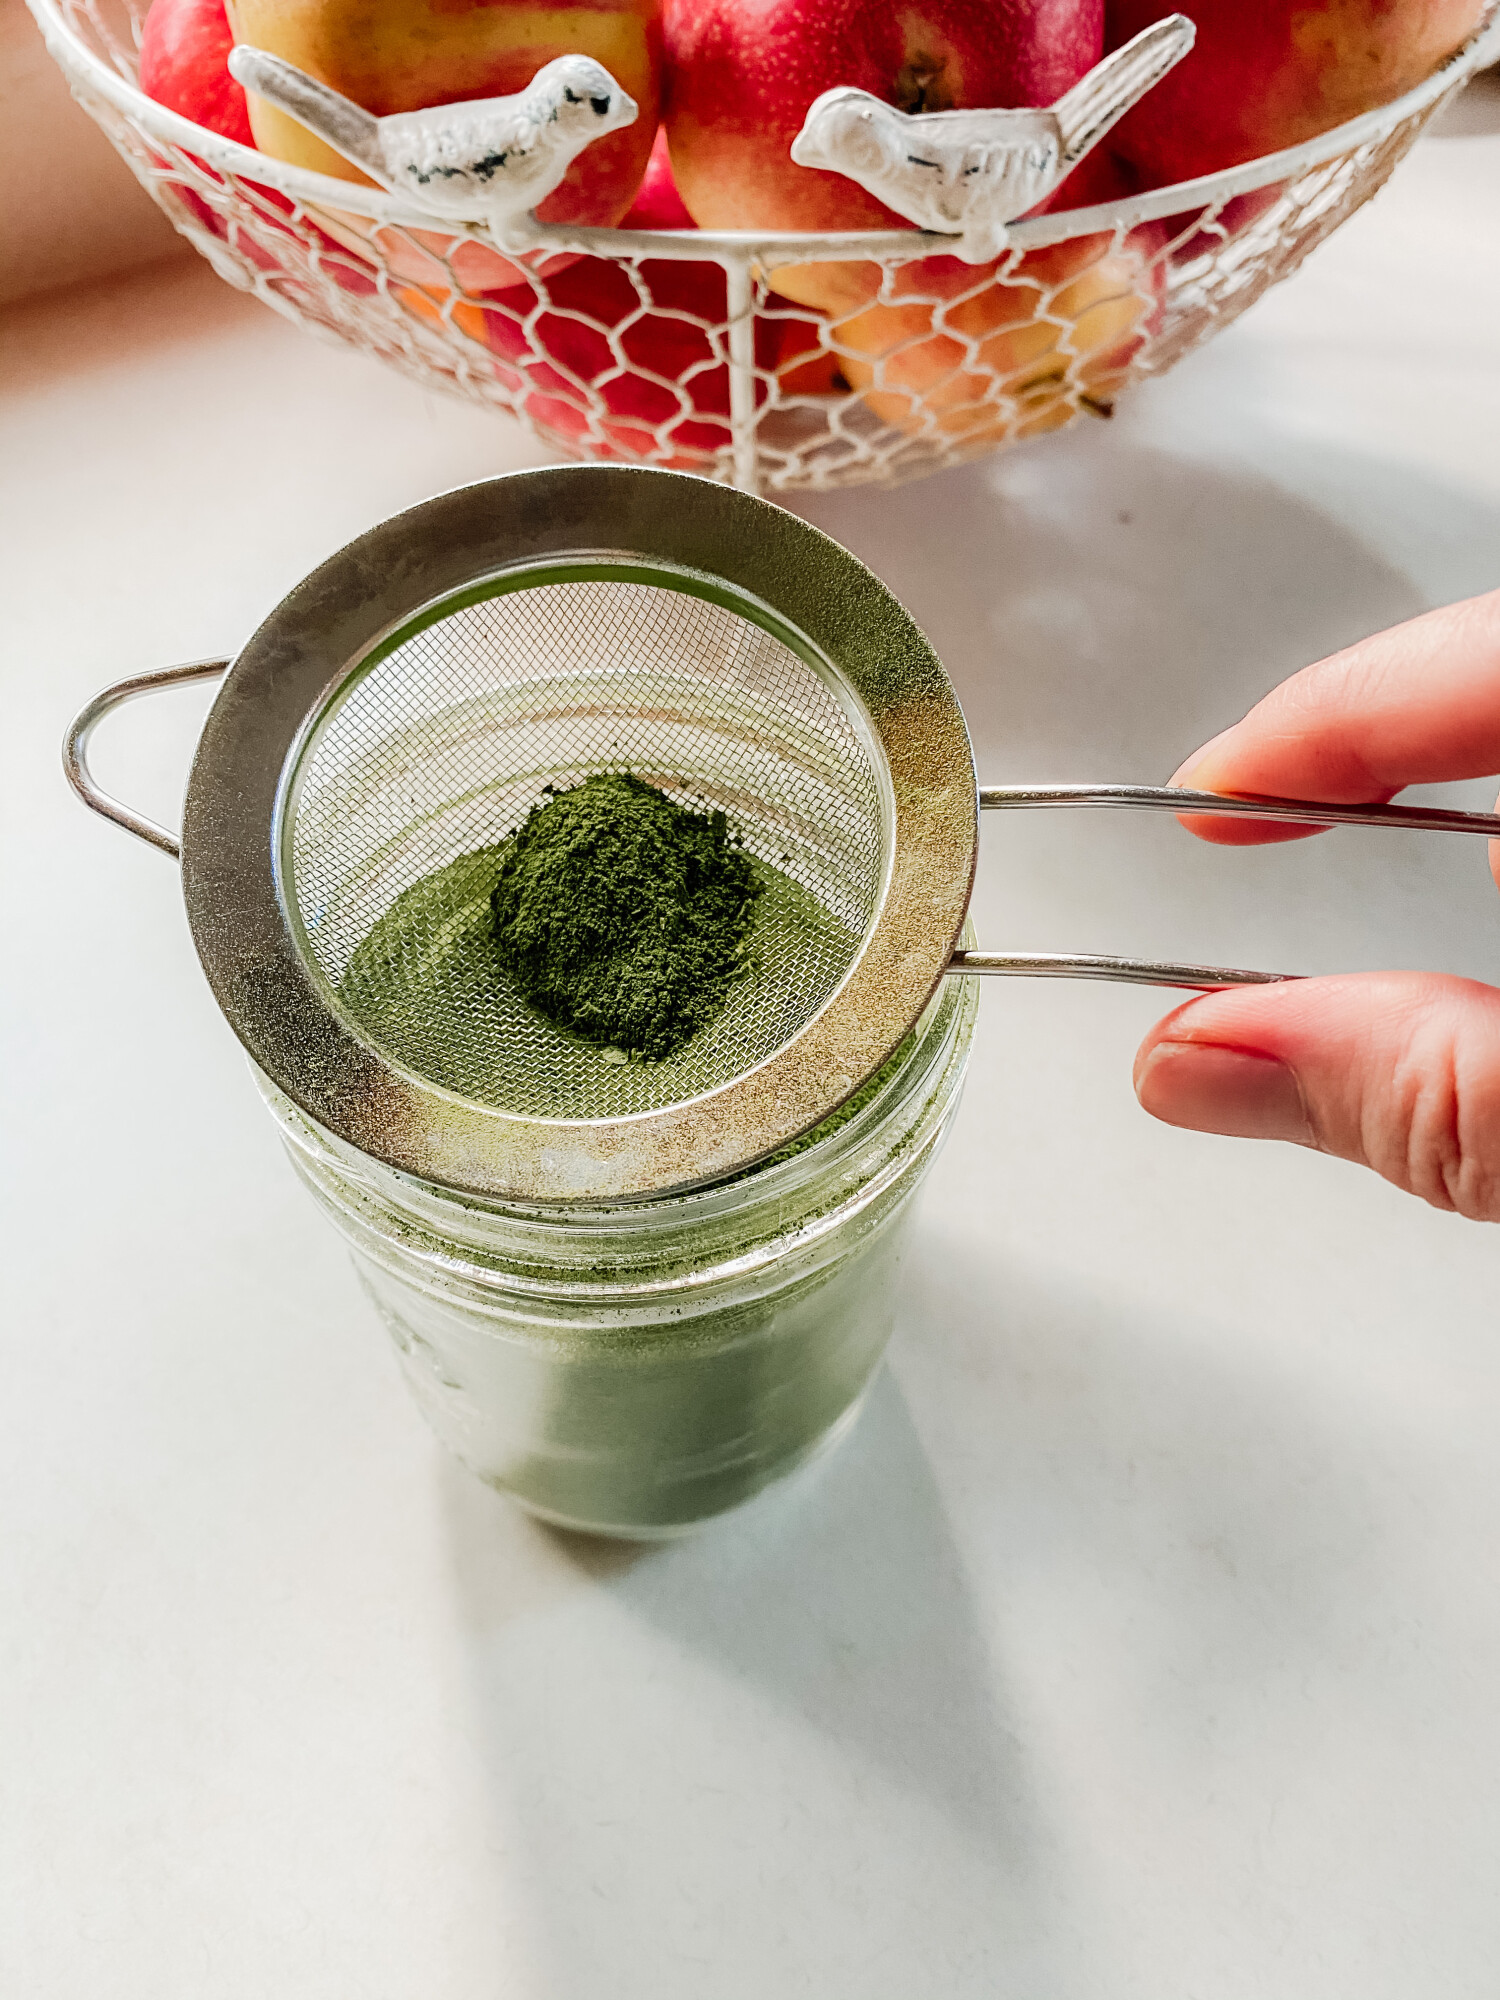
Once the leaves are dry and crispy, (you don’t want any moisture left in them at all) it’s time to grind them up into a fine powder. For this I used my MagicBullet with the flat blade attachment. A spice grinder or coffee grinder would work just as well, but you might have to work in smaller batches. Next, put the powder into a fine mesh strainer and sift. This way you’re sure to get the finest powder.

- Storage
If your container is airtight, your powdered greens will last in your cupboard for many months. As an extra assurance, I like to add a silica gel pack that I saved from one of my vitamin bottles to help with moisture and ensure that everything stays as dry as possible. I'm even thinking this would be a great addition to our family's emergency "go bag"!

By my rough estimations, 1 teaspoon of powder is equivalent to nearly 2 cups of fresh greens! You can add this powder to soups, sauces, smoothies or anything else you can think of. I’m thinking maybe some healthy breakfast muffins? Plus, if you do it right, picky eaters won’t even know😉
I hope you try this super easy way to preserve all that garden goodness that might normally get tossed. Let me know if you do.


0 Comments